Table of Contents

Introduction:
The Significance of 12 Steps of Surya Namaskar in Yoga Surya Namaskar is often considered one of the most classic and inclusive yoga practices in which movement is joined to breath. It is from ancient Indian traditions that this sequence was born with the belief that it is a tribute to the sun, as all living beings in an energetic manner are said to receive life and energy.
The 12 steps of Surya Namaskar are done in flowing patterns, combining rhythm, flow, increased flexibility, and strength-building all over the body.
Taking Surya Namaskar regularly provides the benefits of improving posture, and heightened flow of energy plus clarity in the mind. It is the ultimate warming up drill, to say the least, and canbe modified to suit individuals at varying levels of fitness.
Surya Namaskar’s various steps are prepared to engage with several muscle groups at the same time, from arms and legs to the core and spine. Mindfulness and flexibility have also been developed since every step is followed by deep slow breathing. So, in this way, adding the 12 steps of Surya Namaskar to your daily yoga routine will increase flexibility, strengthening your muscles and improving overall health with a state of calmness.
Pranamasana (Prayer Pose)
The Surya Namaskar practice begins with Pranamasana or commonly referred to as the Prayer Pose. It is a simple yet powerful pose in which you are supposed to stand upright and erect, with feet together, hands together that you stretch before the chest, and align the body.
This is meant for centering of the mind and body to prepare you for whatever is about to happen in the practice. It provides the body with a deep sense of connection with its breath and sets up the sequence with balance and a state of calm before moving to the more dynamical postures.
How to Practice Pranamasana
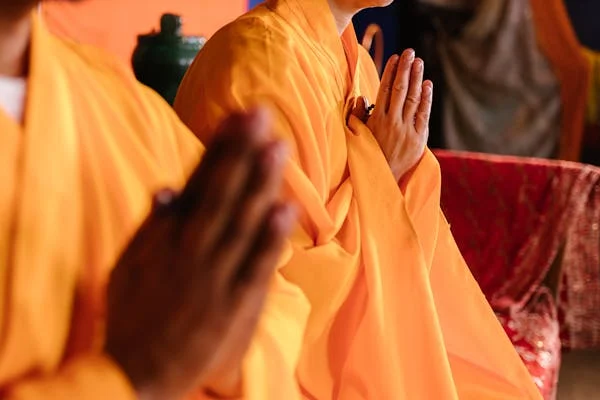
Pranamasana can be practiced by standing feet together and hands in an anjali mudra at the middle of the chest. Keep the spine straight with relaxed shoulders and take a few moments for breathing. Inhale deeply, filling the lungs with air; as you exhale slowly, release all tension.
This is not only an alignment of the physical body but also time to set an intention for your practice, so this is a mindful beginning to the 12 steps of Surya Namaskar. With Pranamasana, you energize yourself to begin establishing the flow of the whole as a whole.
Step 2: Hasta Uttanasana (Raised Arms Pose)


Hasta Uttanasana, or the Raised Arms Pose, is the second step of Surya Namaskar. Moving up from Pranamasana, you will take a deep breath in and raise your arms overhead, reaching up with your body.
Open the chest and extend the spine, benefitting posture and flexibility.
Being a great counterpose for the forward bend to follow, it is meant to give you a balanced flow of movement through the sequence.
Keep the palms facing each other as you stretch your arms up into the air. Keep the legs straight but bend the knees a little if necessary, so that you do not strain your lower back. As you stretch upwards extend the spine and keep the chest expanded.
The inhalation breath opens up the body and the pose itself stretches the upper back, shoulders, and abdominal muscles. It is one of the key 12 poses of Surya Namaskar for inducing strength of upper body along with deep breathing induction.
Step 3: Hasta Padasana (Standing Forward Bend)
Hasta Padasana comes as the third pose of the Surya Namaskar cycle after raising of arms. It is also known as the Standing Forward Bend.
A deep inhalation with slanting forward from the hips, reaching all the way to your palms or your shins, depending on how flexible you are. This stretch fully lengthens the hamstrings, calves, and lower back and allows releases in places of tension buildup. It also tends to calm the nervous system and prepare it for the more intense movements that come later.
In Hasta Padasana, keep your feet as wide apart as your hips and bend your knees slightly if you find it necessary to eliminate any strain.
Gently try to bring your palms down flat on the ground or rest your hands on your shins or ankles if you cannot. You want to keep your spine in length and not rounded over. This stretching helps relax the lower extremities and, simultaneously, facilitate alignment. The third pose of Surya Namaskar is conducive to further flexibility and strength building in the body.
Step 4: Ashwa Sanchalanasana (Equestrian Pose)
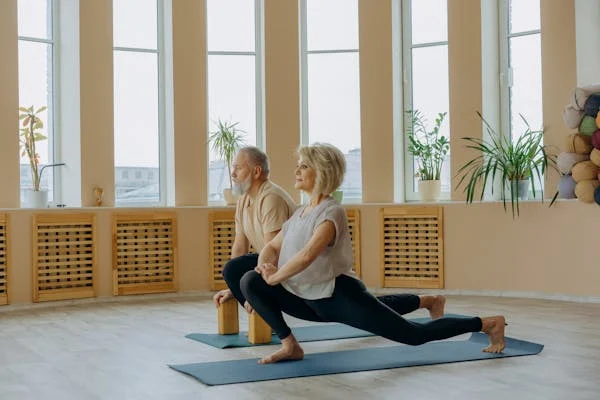
The fourth is Ashwa Sanchalanasana, or Equestrian Pose in the 12 steps of Surya Namaskar. You bend the left knee and put the other foot one step back, which makes it a lunge, and your hand has to be on the floor.
In this pose, the hips, thighs, and groin are stretched out, while the legs and the core get strengthened. This stretch is also great for the chest, and with this pose, you will get your balance or equilibrium improved.
To execute the Ashwa Sanchalanasana, bend your right leg back and, keeping your left knee bent at 90 degrees, lower the knee to the floor. Keep your palms flat on the floor with your back straight. If possible, bring your torso closer to the floor or gently push your hips forward. This also stretches the hip flexors, strengthens the lower body, and readies you for the next move into sequence.


Step 5: Dandasana (Plank Pose)
The fifth Surya Namaskar step is the challenging Plank Pose- Dandasana. Come back into the Equestrian Pose, and both legs step back. This time, you are drawn into a straight line from your head to your heels. Your arms should also be of shoulder-width apart, and the hands pressed firmly into the floor. This needs to involve active engagement on your part regarding your core, arms, and legs.
Dandasana, your body should be aligned perfectly. You must not slouch any part of your lower back or arch a part of your hips. Press your heels backward, and draw in your abdominal muscles so that you can support your spine.
This pose is particularly great for the strengthening of core, arms, and legs and improving generally established stability and endurance. It is one of the most important steps in the 12 steps of Surya Namaskar because it builds strength and teaches control over the body.
Step 6: Ashtanga Namaskara or Salute with Eight Limbs
Ashtanga Namaskara-Surya Namaskar step six- This asana is known commonly as Salute with Eight Limbs. Lie down in a position such that your hands, knees, chest, and chin touch the ground. Eight parts of the body touch the ground; two hands, two knees, chest, chin, and toes.
It will help to make the body much stronger in the upper part and create an important stretch for the chest and back.
You slowly come down into the floor with your elbows bent, making sure that your chest and chin gently touch the ground, then gently bring your knees to lie on the floor.
This builds up the arms, chest, and core and eventually opens up the heart space; it’s a vital step in the 12 steps of Surya Namaskar for overall strength, flexibility, and coordination.


Conclusion:
The Full Comprehension of the 12 Steps of Surya Namaskar
Of course, practicing all these 12 steps of Surya Namaskar takes time, patience, and daily practice.
Each step builds strength, flexibility, and mental mindfulness-in a holistic way to benefit the body and mind. All these 12 steps of Surya Namaskar are then introduced into the daily yoga routine to unlock the broad spectrum of benefits, from flexibility to increased energy and clarity in one’s mind.
However, you will find it presents deep understanding between breath and movement, coming harmoniously together as you practice more.
The beauty of Surya Namaskar is that it is simple and, yet at the same time complete enough to offer a yoga practice for everyone, regardless of fitness levels. Consistent practice of these 12 steps of positively affects health and well-being.
Whether you are an experienced yogi or a first-timer, the 12 steps of Surya Namaskar form the base for almost any yoga. Keeping reminding yourself that it is the journey that matters in yoga and not about being perfect.
It is about the connection of body, mind, and spirit. Always keep practicing, be patient, and enjoy all the great benefits that come with mastering the steps of Surya Namaskar.
